Your worries can wait for another day, help is on the way! ;)

Alright, that may have been a little much, but I was cheesy as a slice of cheddar in the photo above, ready to get down and dirty in the office and finally create the space I'd been wanting!


I love our Texas country decorative scheme, which permeates nearly every room in our home. We love rustic and comfortable, cozy and country. It's literally a part of who we are, and we've been working on collecting the wood furniture found in our home - and seen in the photos above - for years now! (And yes, I realize that's a Budweiser mirror hanging on the wall in my living room.)
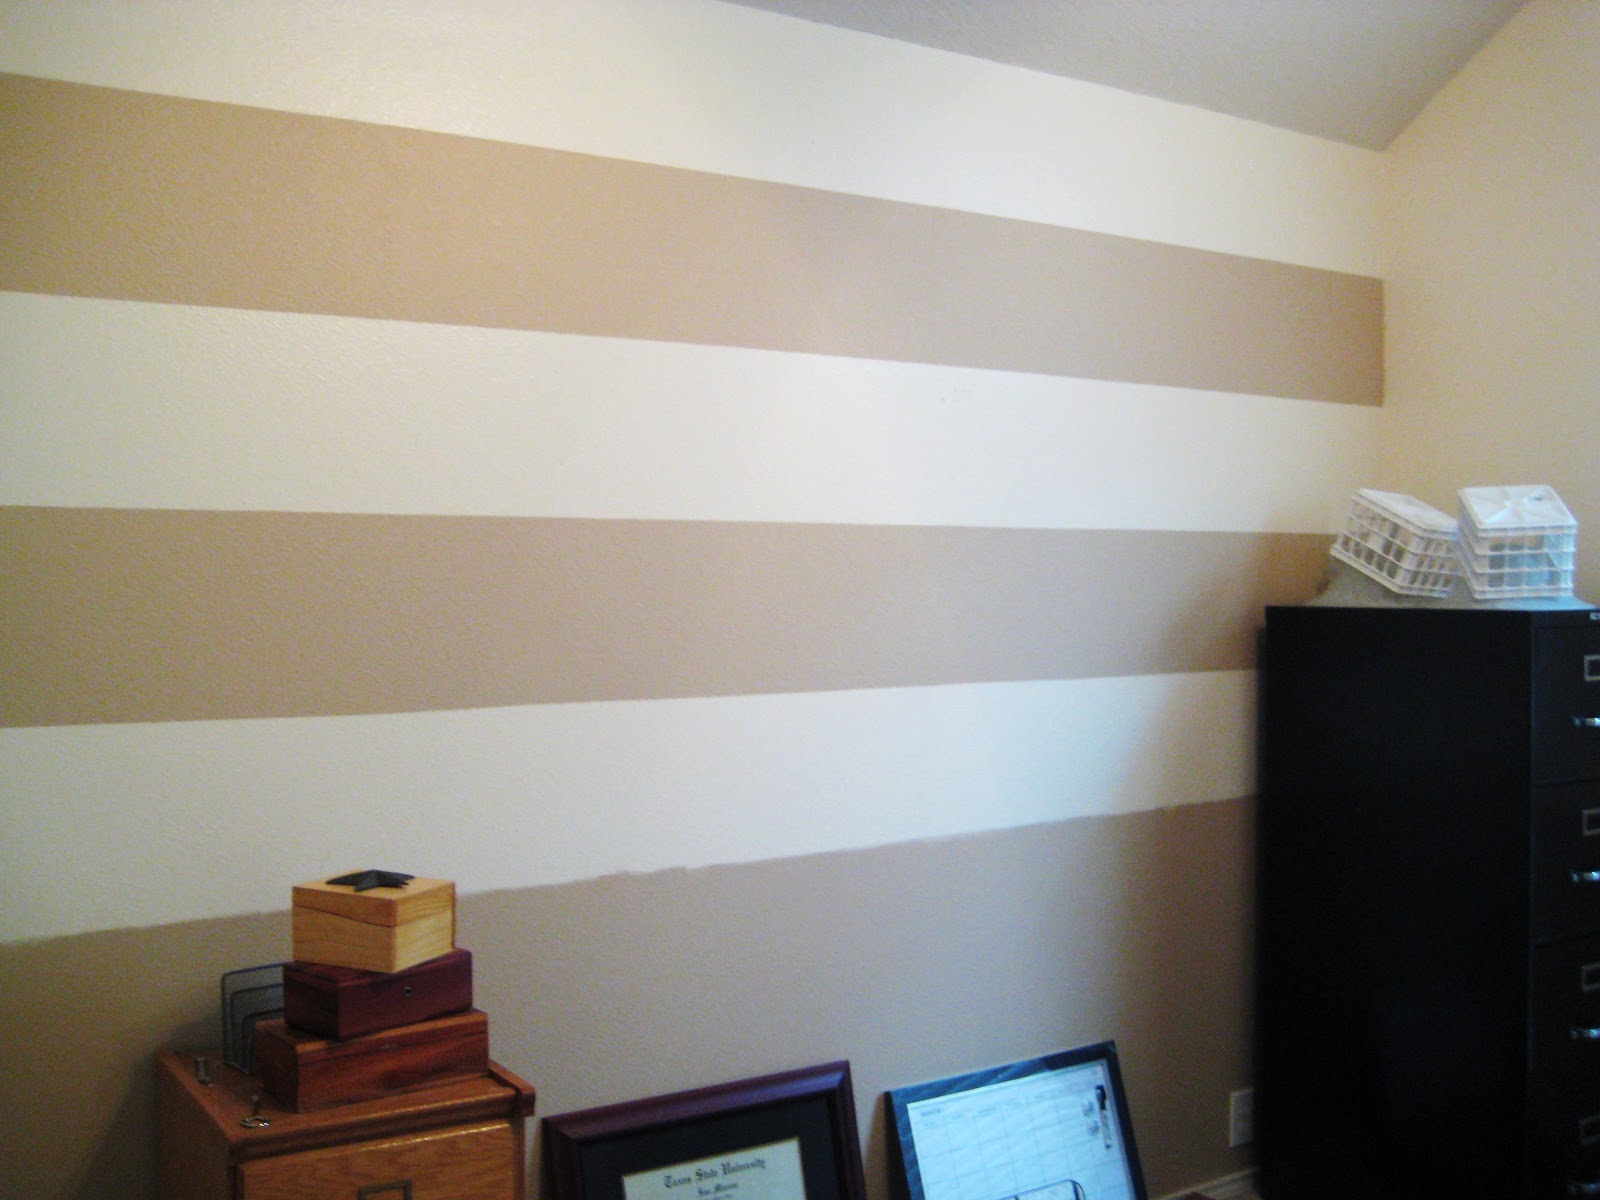
Yet, I wanted to change things up a little bit and do some sort of light, fresh color scheme in my office. Something that would make me feel refreshed and inspired. So I came up with a cream-and-tan combination. At first, I was thinking I'd do vertical stripes around all four walls in the room. Once I started researching the web for tips and tricks on how to successfully paint stripes without letting the paint bleed through, I began to realize how time consuming and difficult it was going to be! So I opted for horizontal stripes on the two long walls of the room to elongate the space, solid cream on the two short walls and a cream chair railing around the whole thing with a solid tan color below it.
Before you start, I highly suggest you have reliable help and an expert taper if possible, like my mom. She was great! She whipped around with that tape faster than anyone I've ever seen. Which is awesome, when it takes up to four hours to "prepare" the wall prior to actually putting on the paint.

First, I measured where the chair railing should be and chose 33 inches above the bottom baseboard.

From there, I used a level and a pencil to draw straight lines all the way around the room. Patience is a virtue!


Next, I measured and drew the lines for the stripes. We decided that an odd number was best and made each stripe 12 inches wide. I didn't realize when I measured the first stripe that came after the chair railing that the chair railing would eat up some of the wall space, so I forgot to account for that. Thus the first stripe on both walls is a little under a foot, but it looks fine.

Finally, it was ready to begin taping. However, I still hadn't found any super helpful blogger or web instructions that seemed to be a break through on the stripe painting process. Some folks recommended using clear caulking on the edges of the tape to keep paint from bleeding over, others used two different kinds of tape, some used a paste under the tape for extra stick - and on and on! None of those ideas sounded like a venture I was willing to take, until I had an idea. I had just used a vinyl word transfer on a wall in our bedroom (where you rub a design or quote onto the wall and it transfers off the paper), and I still had the little card I used to put it on. Inspiration struck! Why not use it to rub the tape onto the wall?

It took a while to be sure the tape was going down evenly on the pre-drawn lines then I would follow up behind my mom with my little card to rub on the tape. (In case you're wondering, I used both the blue painter's top and the green Frog tape, the latter seemed to work the best.)

Now time to paint!! We opted to do the cream color first - I chose an ivory-like, high gloss paint to add a little shimmer in contrast with the semi-gloss tan. It's easy to get confused when you're first starting to paint stripes, because you're taping on the outside of one set of stripes to paint inside another. I put a piece of tape on the stripes that we were not painting, so we wouldn't accidentally swipe the wrong one! After two coats of the cream, we carefully stripped off the tape before the paint had dried. This is a very important step to keep the paint from drying and stick to the tape then ripping away when you remove it. Taking off the tape while the paint is still wet is a huge part of achieving straight lines!

We left the paint overnight to dry completely, then came back to apply tape for the tan stripes. I redid my bit with the card, smushing the tape into the wall, then on went two coats of the tan. Again, we carefully peeled away the tape as soon as we were done painting the stripes. There's nothing more gratifying then removing that final piece of tape and admiring a job well done - my mom and I were so happy with the results!

A few days later, I did two coats of cream on the short walls and two coats of the tan below the chair railing. I was also in need of furniture and found a heck of a bargain for a bookshelf with hutch and a wide desk by Christopher Lowell on Craig's List! We moved the furniture in, arranged it, then cluttered everything in the center to install the chair railing.

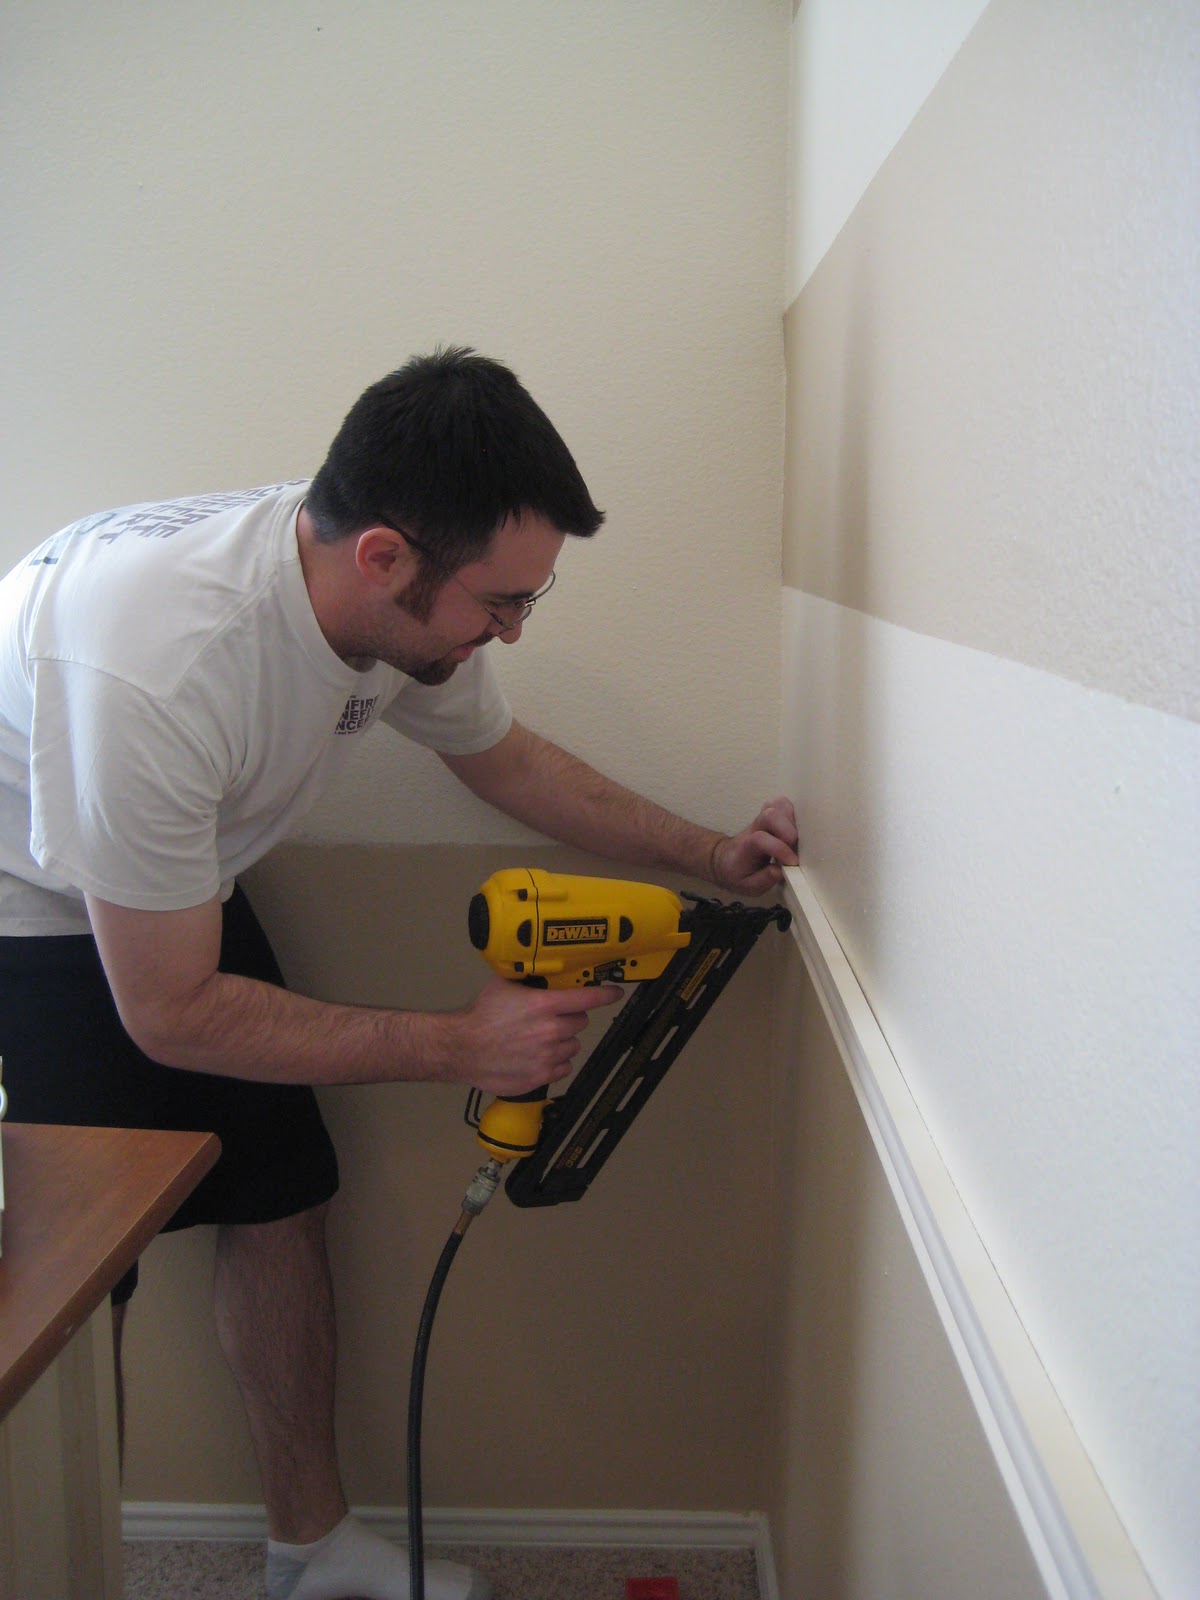
We purchased our favorite chair railing design at Home Depot then brought it home and I spray painted it Rust-oleum's Painter's Touch satin spray in Heirloom White. Once dry, my husband would measure and hand cut the pieces then attached them to the wall using a nail gun.


And this is the final outcome:


For a full breakdown of all the trinkets, treasures and DIY efforts in the space, check out my post right here.
Everybody's definition of luxury is different. Mine is running my own company from home in the comfort of an office I created myself! What's yours?

What a great post!! When you wanted stripes I could not 'see' the finished look like you did! It turned out fabulous! What a perfect setting to write away the hours. I imagine the calm color scheme helps! Just beautiful!
ReplyDeleteI love it!
ReplyDelete