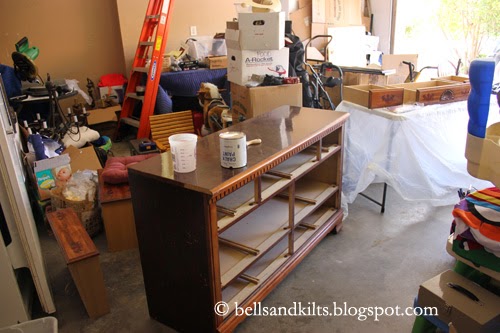
The husband sweetly cleared out a place for me to paint in the garage and this particular Saturday the babies all went down for solid two-hour naps and we had a nice breeze and plenty of sunshine. He tackled his projects, while I tackled mine...
I didn't have a paint stick so improvised with some long skewers and stirred it really well. This was after I'd set the can upside down for about 30 minutes. The pros were I bought the paint from told me the paint is thick and tends to collect at the bottom so it's important to mix it very well before painting.

I poured some in a container then used a nice Purdy paint brush (I felt the investment was worth having a solid brush), added a few spritzes of water, stirred again then start painting it on before I could think about it and scare myself off!
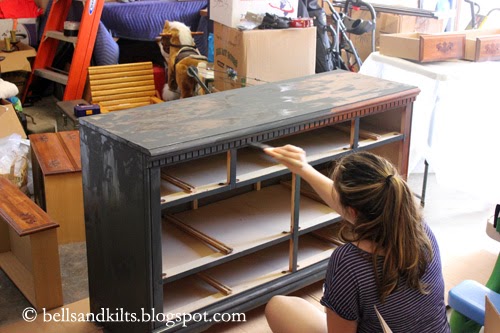
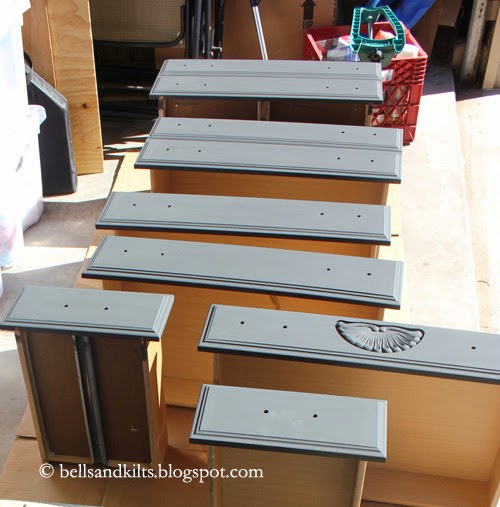
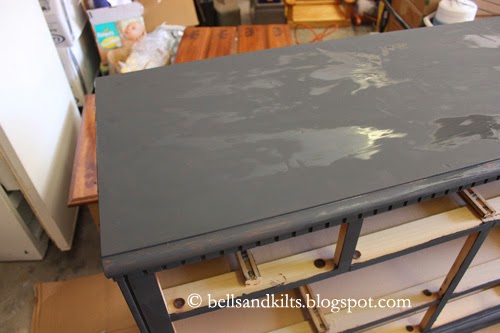
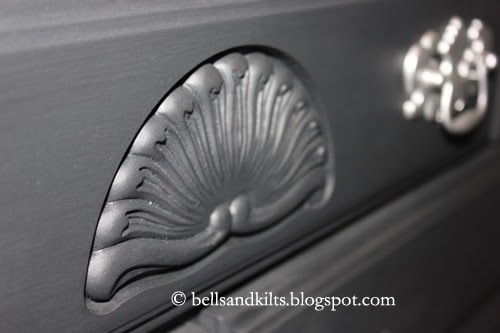
The whole pieces, including the drawers, required two thin even coats. As it dried, it'd have wet patches that evened out once it had dried completely all over.
In between coats, I spray painted the ugly brass handles that were originally on the dresser. I used Rustoleum's metallic silver spray paint and, while I loved the outcome, ended up deciding not to use them because they were too sparkly. Which was not encouraged for a room that Harrison shares with his sister. ;)
However, if you spray paint old handles for a project, it took two coats of paint. I sprayed one with the handles flipped one way, then a second coat with the handles flipped in the opposite direction.

After two coats of chalk paint on the dresser and letting it dry, it was time to wax. I'd used Annie Sloan's clear wax and petite waxing brush. I was told to only put a tiny amount of the brush but I didn't have any direction on the motion or method to apply the wax so I just brushed it on in smooth strokes with medium pressure to work the wax into the piece. I was also informed that if you can run your finger over the wax and leave an impression behind that you're using too much.
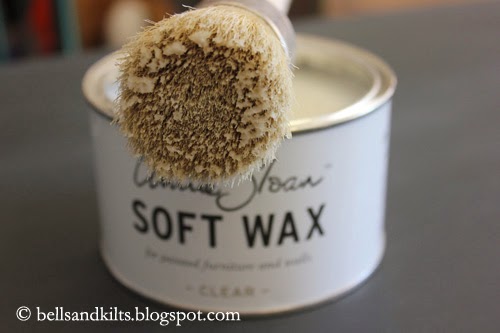

In the end, I'm not sure if I used a little too much wax or not, because it's a bit of waxy finish (I know it was waxed and all, but it's like it never smoothed out completely) so I plan to just let it wear off a little bit and re-wax it one day in the future. But for now it works great and is water resistant as well.
Edited to add: When waxing, I've learned it's recommended to use circular motions. I also wanted to add that I gently buffed the piece with a cotton cloth, but likely didn't buff it quite enough. Another fellow painter let me know the wax can take as long as 30 days to cure and can be scuffed up if objects are scraped across the surface while the wax is still fresh. Also, my paint brush and any items that had chalk paint on them (like my hands and arms) were easily washed in soap and water. I used very hot water to clean the wax off my waxing brush!
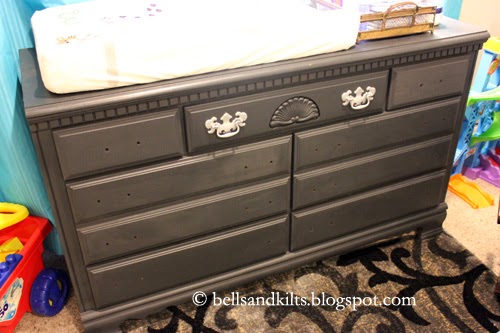
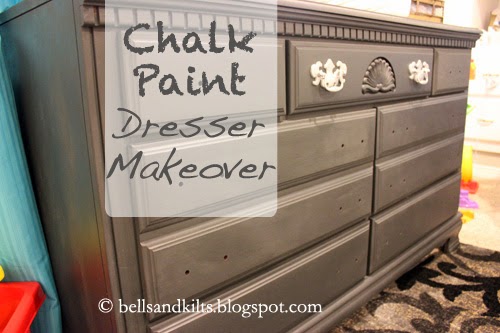
Like I said, I ended up deciding not to use the sparkly silver handles and will be ordering some new ones instead. I loved how the color turned out, it's perfect for the grays, white and blues in Harrison and Kailey's room. And we're so excited to now having a changing station upstairs!


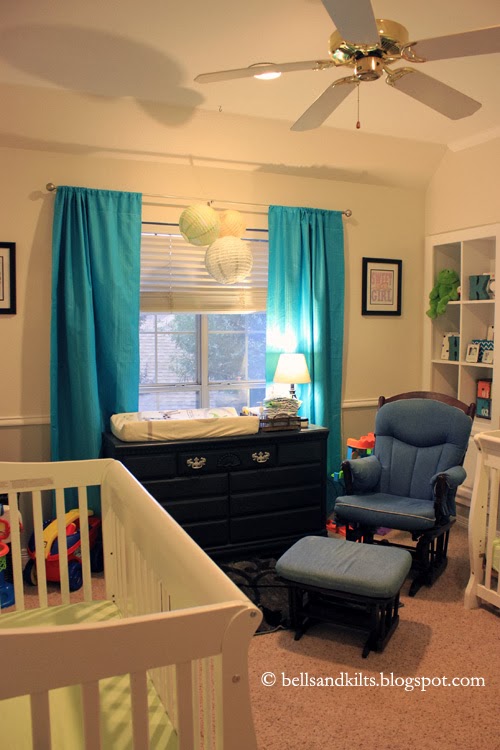
Their room is slowly coming along. I love the printable art I made and framed on either side of the window. The one on the left says "little man" with a mustache and the one on the right says "sweet girl" with a bow. I'm happy to share these free printables, so if you'd like your own copy just email me (it's under the "contact me" page) and I'll send them to you!
I still have more to do in their room, including toy organization and letters I'm painting that'll spell out their names above their cribs. But so far, I'm lovin' it!
What have you chalk painted lately?

Isn't Annie Sloan Chalk Paint fun to use, easy to clean up (my fav) and looks great. The waxed surface will mark up a bit until it has cured for about 30 days but is totally usable, just don't scrape things across the top (I had to repaint a waxed ASCP top because metal was moved around on the top and left grey marks on the white paint). Congratulations - and I am guessing you will be using ASCP for more projects.
ReplyDeleteJoy
Looks VERY good!!
ReplyDeleteSuper cute room!
ReplyDeleteI have never attempted painting furniture, you make it look so easy:)
Thanks for sharing.